
I am not sure where to even start with this post…or recipe, for that matter. I undoubtedly love this recipe – it’s a staple in our home – and I feel like it’s one I would have shared with you along my food-blogging journey at some later date. Recently many of us are re-thinking our food choices and calculating our resources accordingly. If we dare to see the positive in this, what a good lesson this is for all of us! If you’ve ever considered learning how to make bread from scratch, this is your time! I have the very easiest, most flavorful sandwich bread just waiting for you on the other side of a few hours. Let me introduce you to my Super Easy No-Knead Whole Wheat Sandwich Bread.
Most of us have all of the ingredients necessary to create this beautiful, delicious whole wheat sandwich bread stored somewhere in the back of our pantry or cabinets. And if you don’t, I bet a neighbor could lend you a few ingredients to make it!
I like recipes like this – ones that combine very few ingredients to create staple products in very little time. It reminds me that products like bread should only contain 4-6 ingredients anyway. The bread that we buy at the store is loaded with several other ingredients, mostly for preservation.
I occassionally buy bread at the store out of convenience, as a majority of us do. However, this lesson in bread baking helps to remind us that the really good things in life are simple…and can be relatively easy.
Getting Started ~ Creating Whole Wheat Sandwich Bread Dough
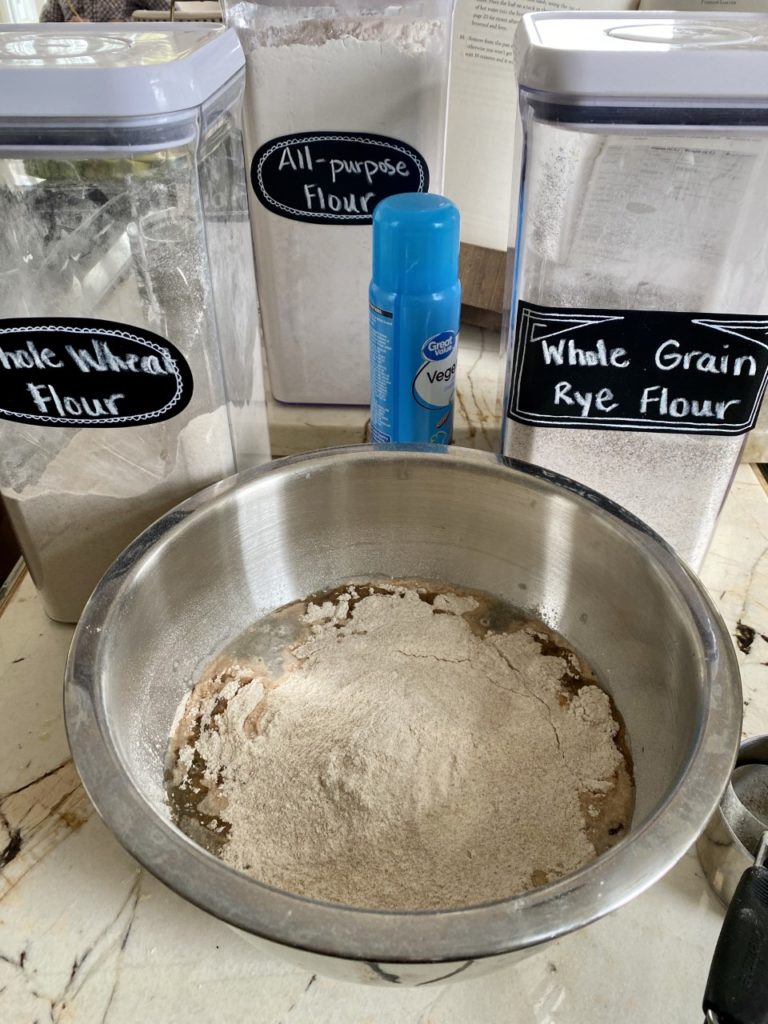
For starters, I like to grab all of my ingredients out of my pantry and have them placed next to my large mixing bowl. This whole wheat sandwich bread recipe literally comes together in 5 minutes if we are prepared!
As a quick note, when getting the water ready for this recipe, please make sure it is lukewarm at most, about 100 degrees. If it’s warmer than 120 degrees, it will kill your yeast and that will be such a bummer! I use a simple digital thermometer to check the temperature before adding my yeast to the water to ensure it’s at the proper level.
Also, measuring out your water in a liquid measuring cup, like the OXO angled liquid measuring cup, is ideal. With these, you aren’t bending over and checking if the water is “at the line.” You can see from the top looking right down into the measuring cup that you have measured out the correct amount of water. After discovering these angled measuring cups, I’d never use another kind again!
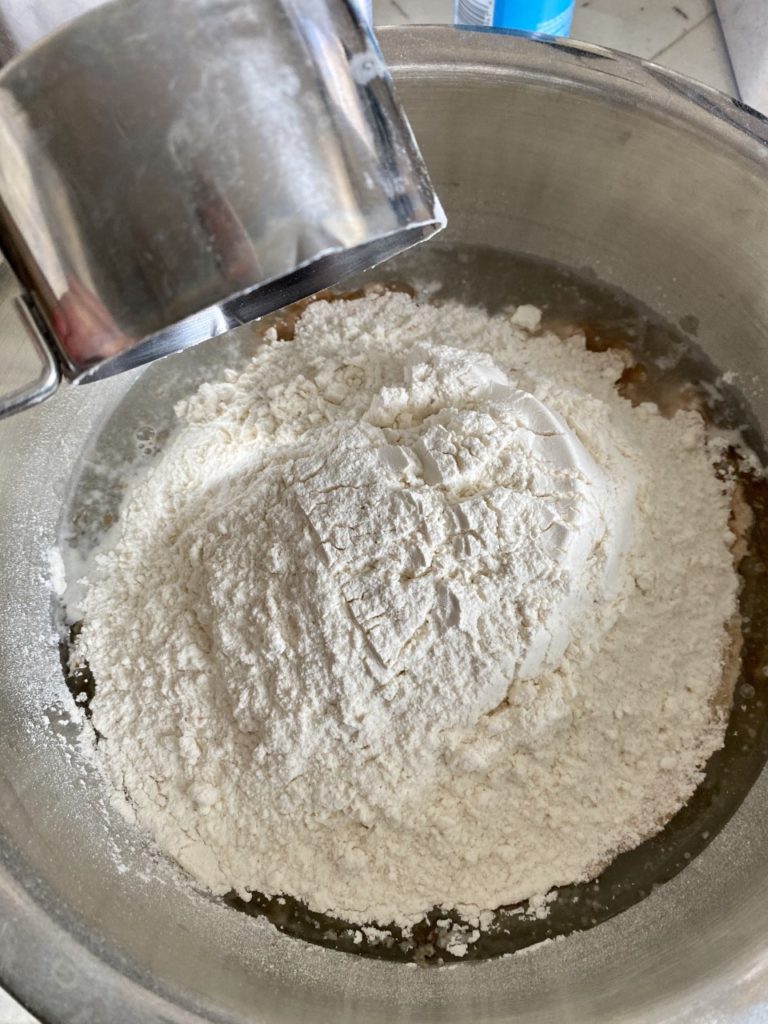
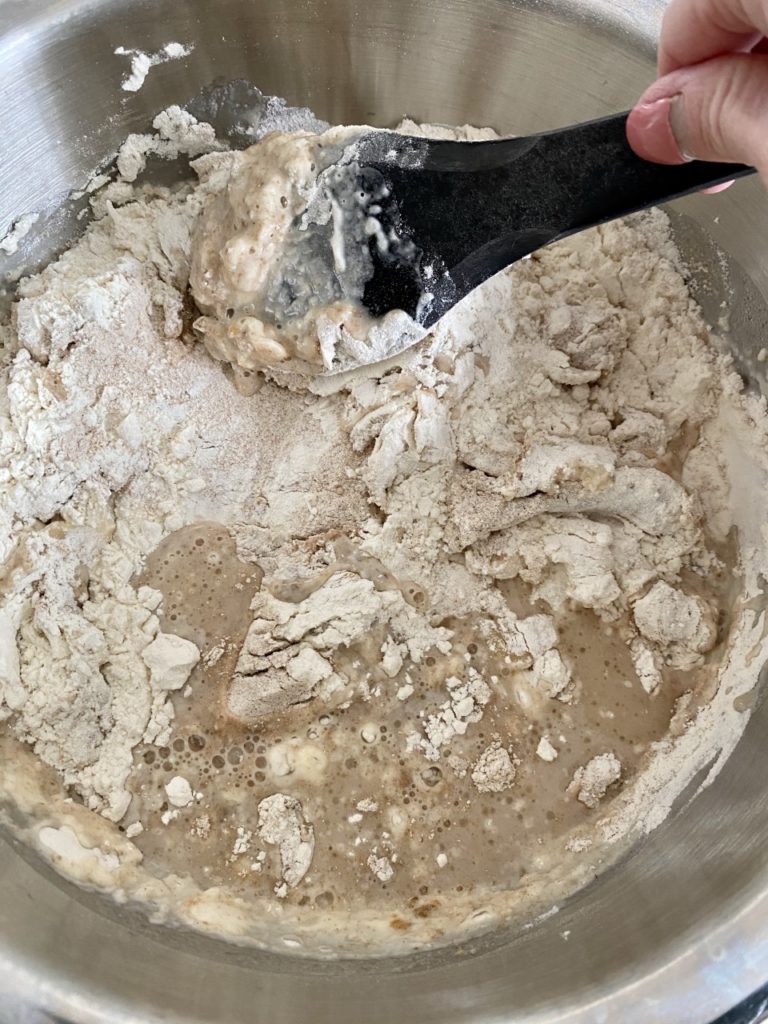
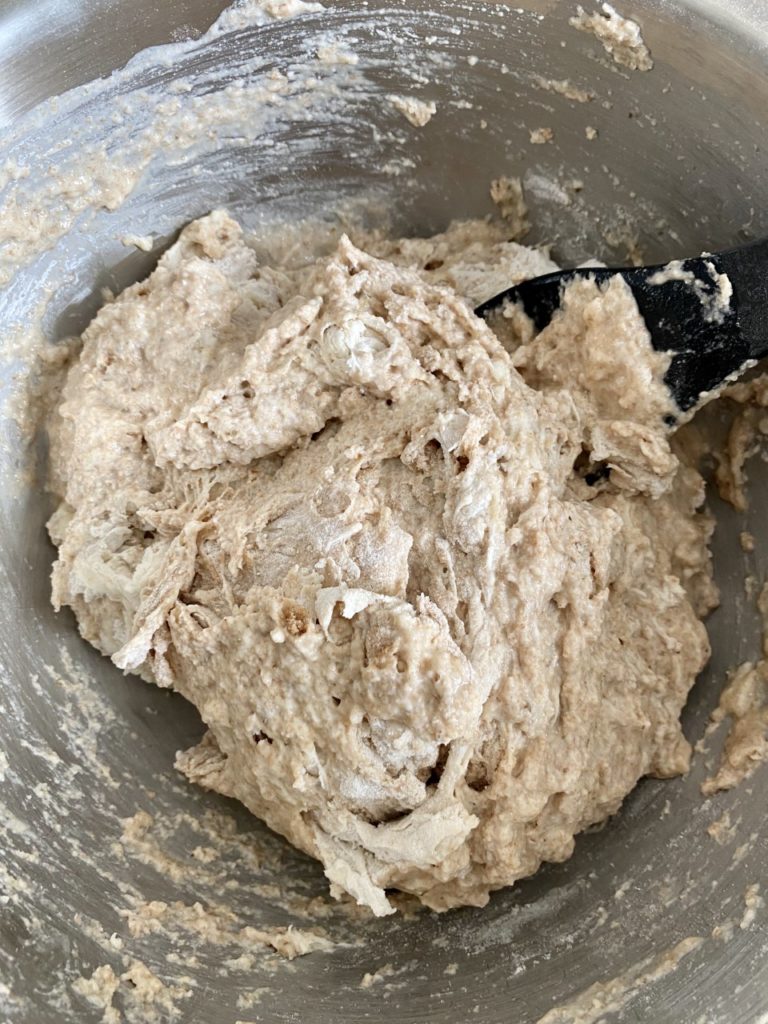
After you’ve mixed all of the liquid ingredients together, then add your dry ingredients with a wooden spoon or your stirring stick of choice. My favorite stirring tools are by the Epicurean brand. This brand is created right here in the northland, Superior, Wisconsin to be exact. I absolutely love the texture, design and materials they are made from! My favorites are the medium and large spoons as well as the scrapers.
Let the Dough Rise!
Now that all of your ingredients have been incorporated, all we do is cover it up very loosely and wait! You may use a piece of plastic wrap, Press N’ Seal or my favorite, Charles Viancin lids. These lids are fantastic and if you’ve never used them, I highly suggest trying a few sizes!

They are microwave, dishwasher, freezer, oven and refrigerator safe. They have a naturally-venting system so an edge will slightly lift to allow steam to escape if necessary. And, I have far less explosions in my microwave when reheating leftovers. (This is my favorite use because I cannot handle tomato sauce explosions.)
Time To Create A Loaf of Whole Wheat Sandwich Bread!
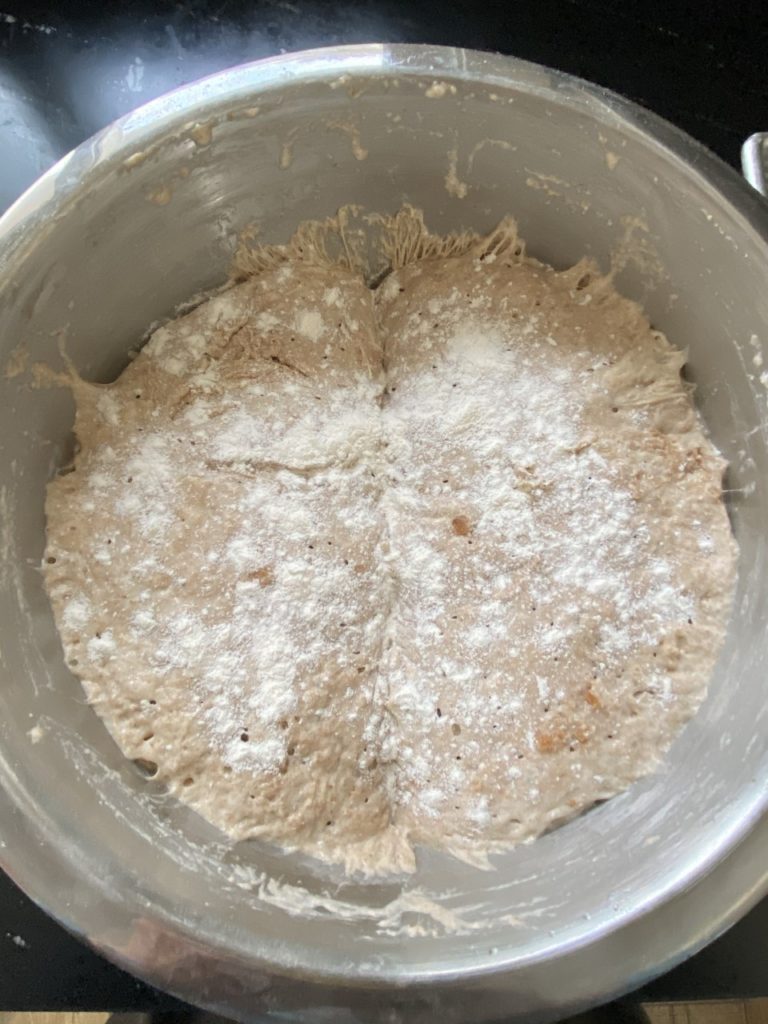
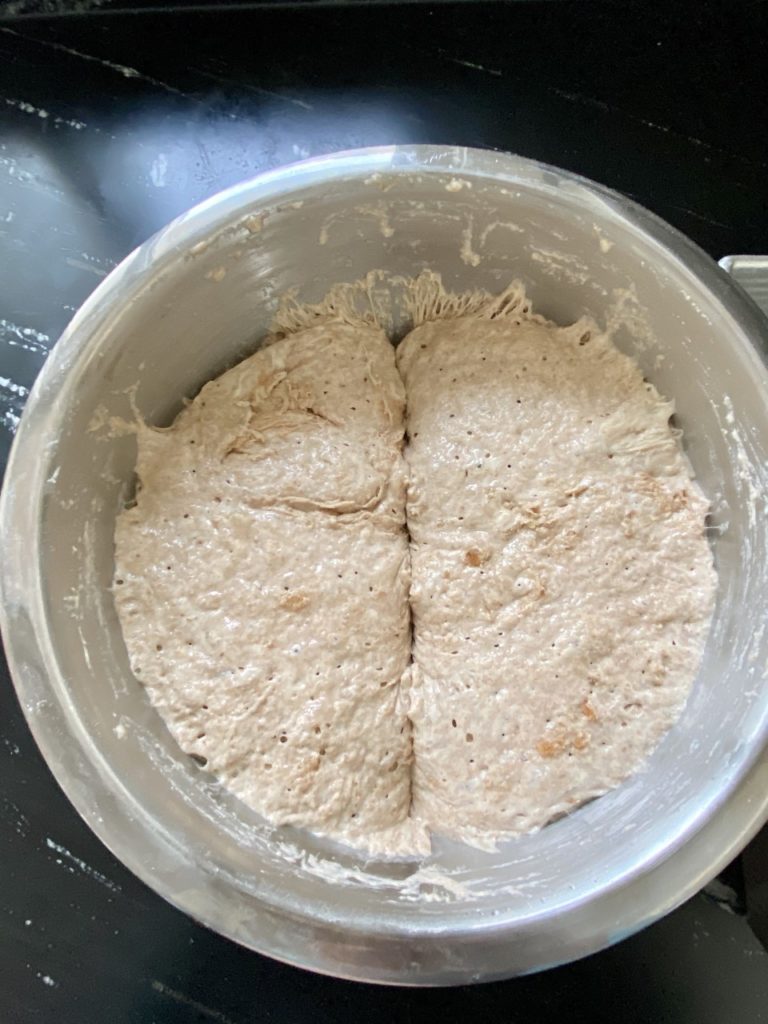
After your initial 2 hour rise time is over and the dough for your whole wheat sandwich bread has about doubled in size, you may now use the dough or move it to your refrigerator.
Expert Tip: Handling refrigerated dough is much easier so if you can wait, I’d highly suggest refrigerating the dough first. If you cannot wait, and your family needs bread (like yesterday), then by all means, move onto the next step.
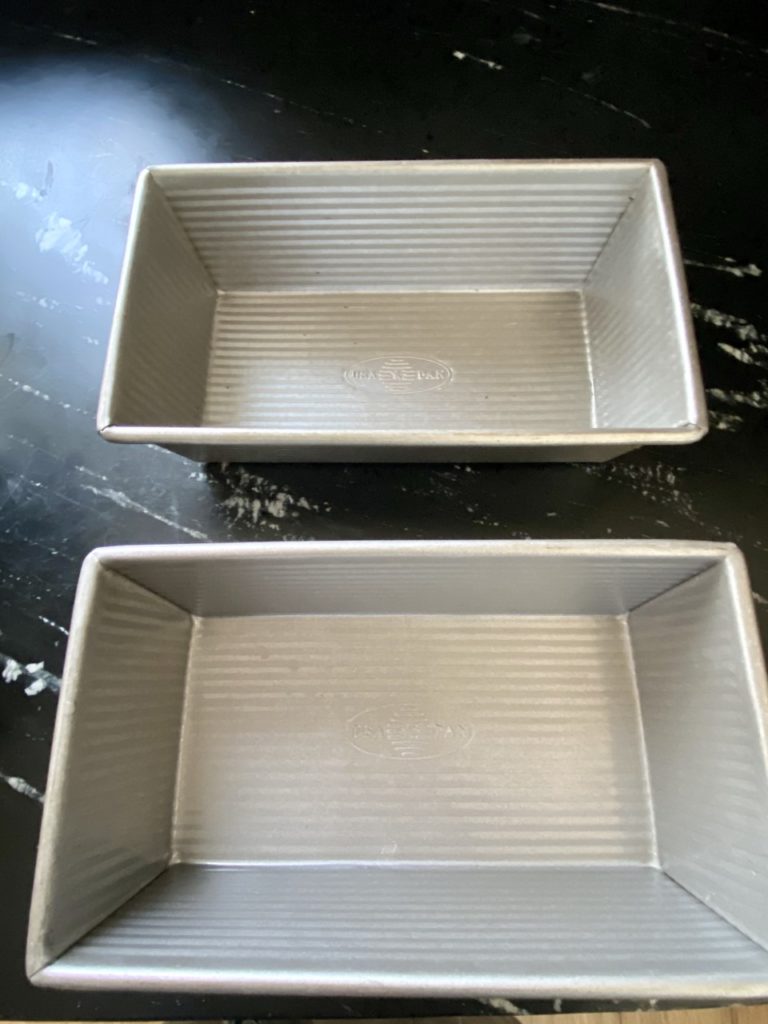
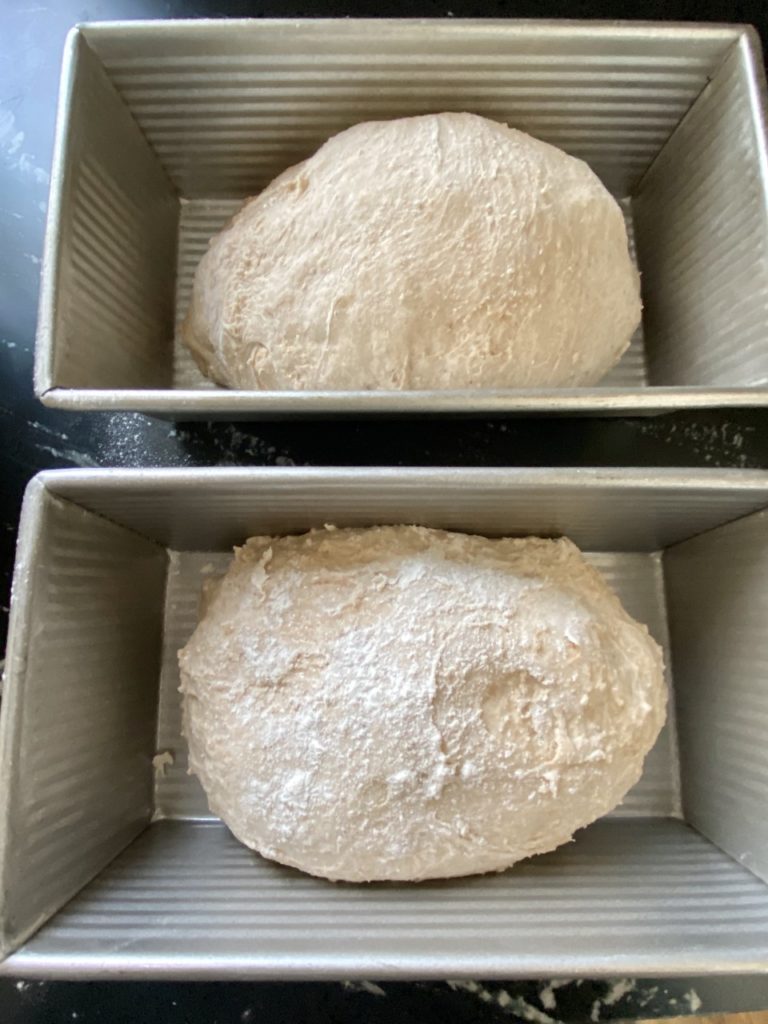
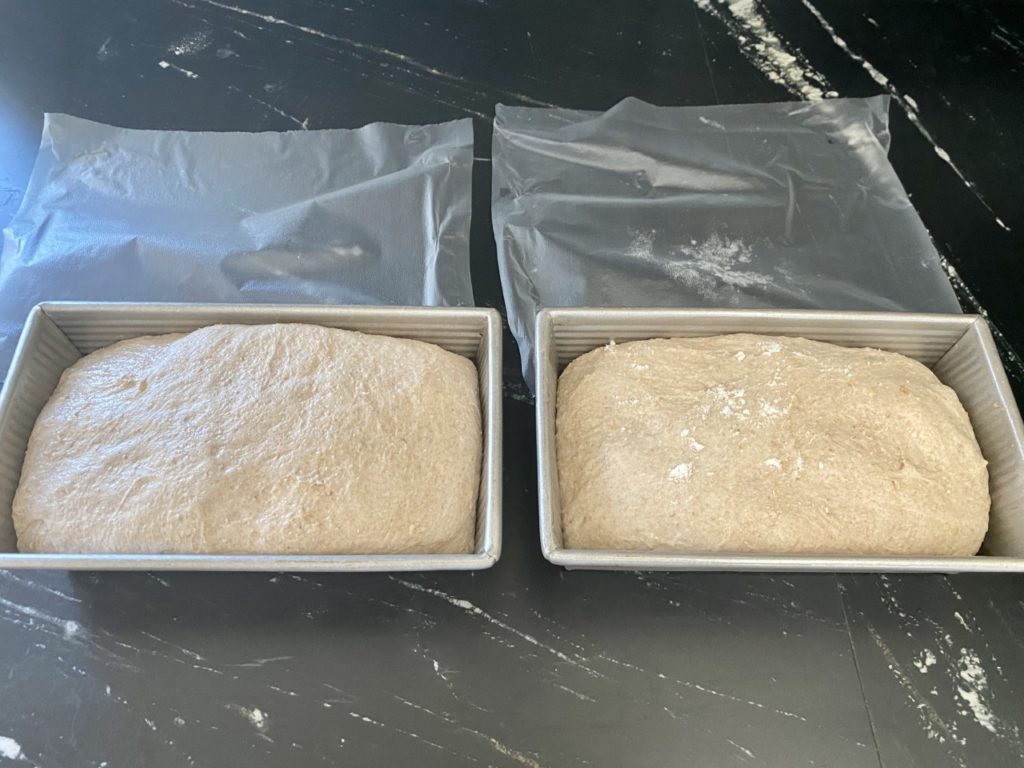
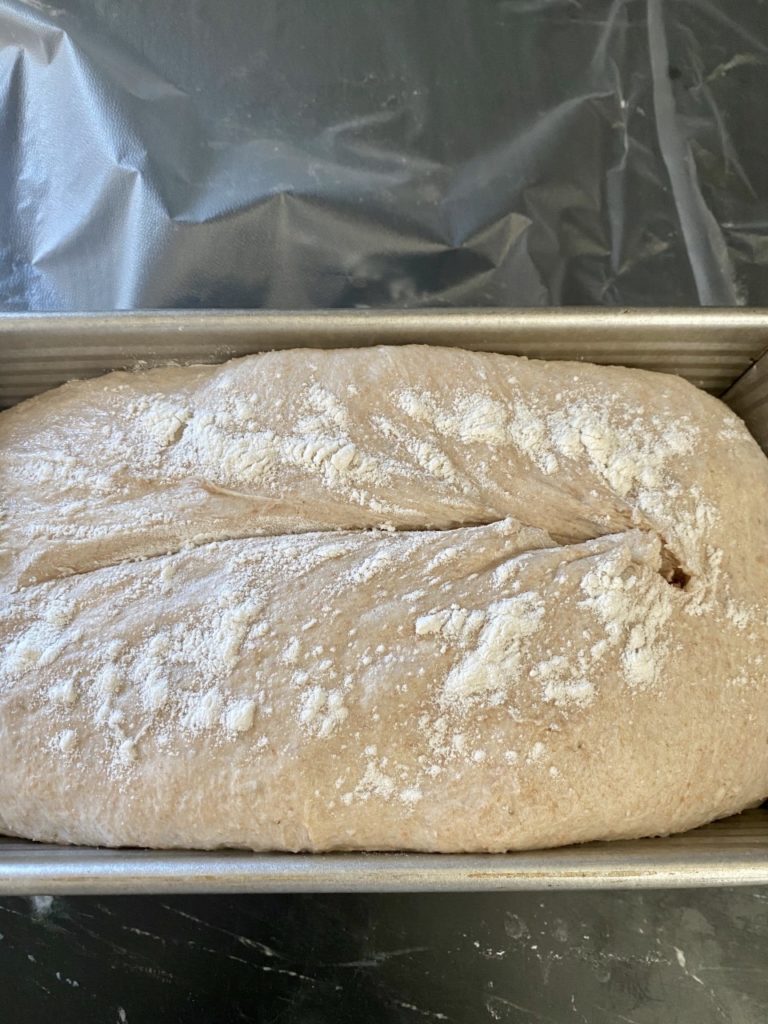
When you are ready to bake, follow the instructions for greasing your desired loaf pan. Next, smooth out the dough ball; elongating it and shaping it into an oval. Place it in the pan and let it sit, covered loosely, for 90 minutes.
I have a deep love for USA Pan brand of baking pans and sheets. They are professional grade and are pre-coated with a silicone non-stick lining so greasing isn’t necessary. I discovered this brand when I owned my gourmet kitchen retail store and have never looked back! If you’re partial to ceramic pans, Emile Henry will totally be your jam. I am smitten over Emile Henry for all things ceramic cookware and bakeware. I also own several of these. Their heat retention and even baking capabilities are far superior to any other ceramic or cast-iron options available.
Expert Tip: This rest time will allow the gluten proteins to weave their beautiful web and create that yummy crumb we all desire. Do not skip this rest time.
The next steps are simple: Place your loaf pan in the center of your oven, put some hot water in your broiler tray (or metal baking pan), and shut the door! Set your time to 50-55 minutes, although I always check mine about halfway through and give it a 1/2 turn to ensure even browning.
Expert Tip: IF your bread loaves are browning a little too quickly, place some aluminum foil over the top of your loaves half way through the baking process.

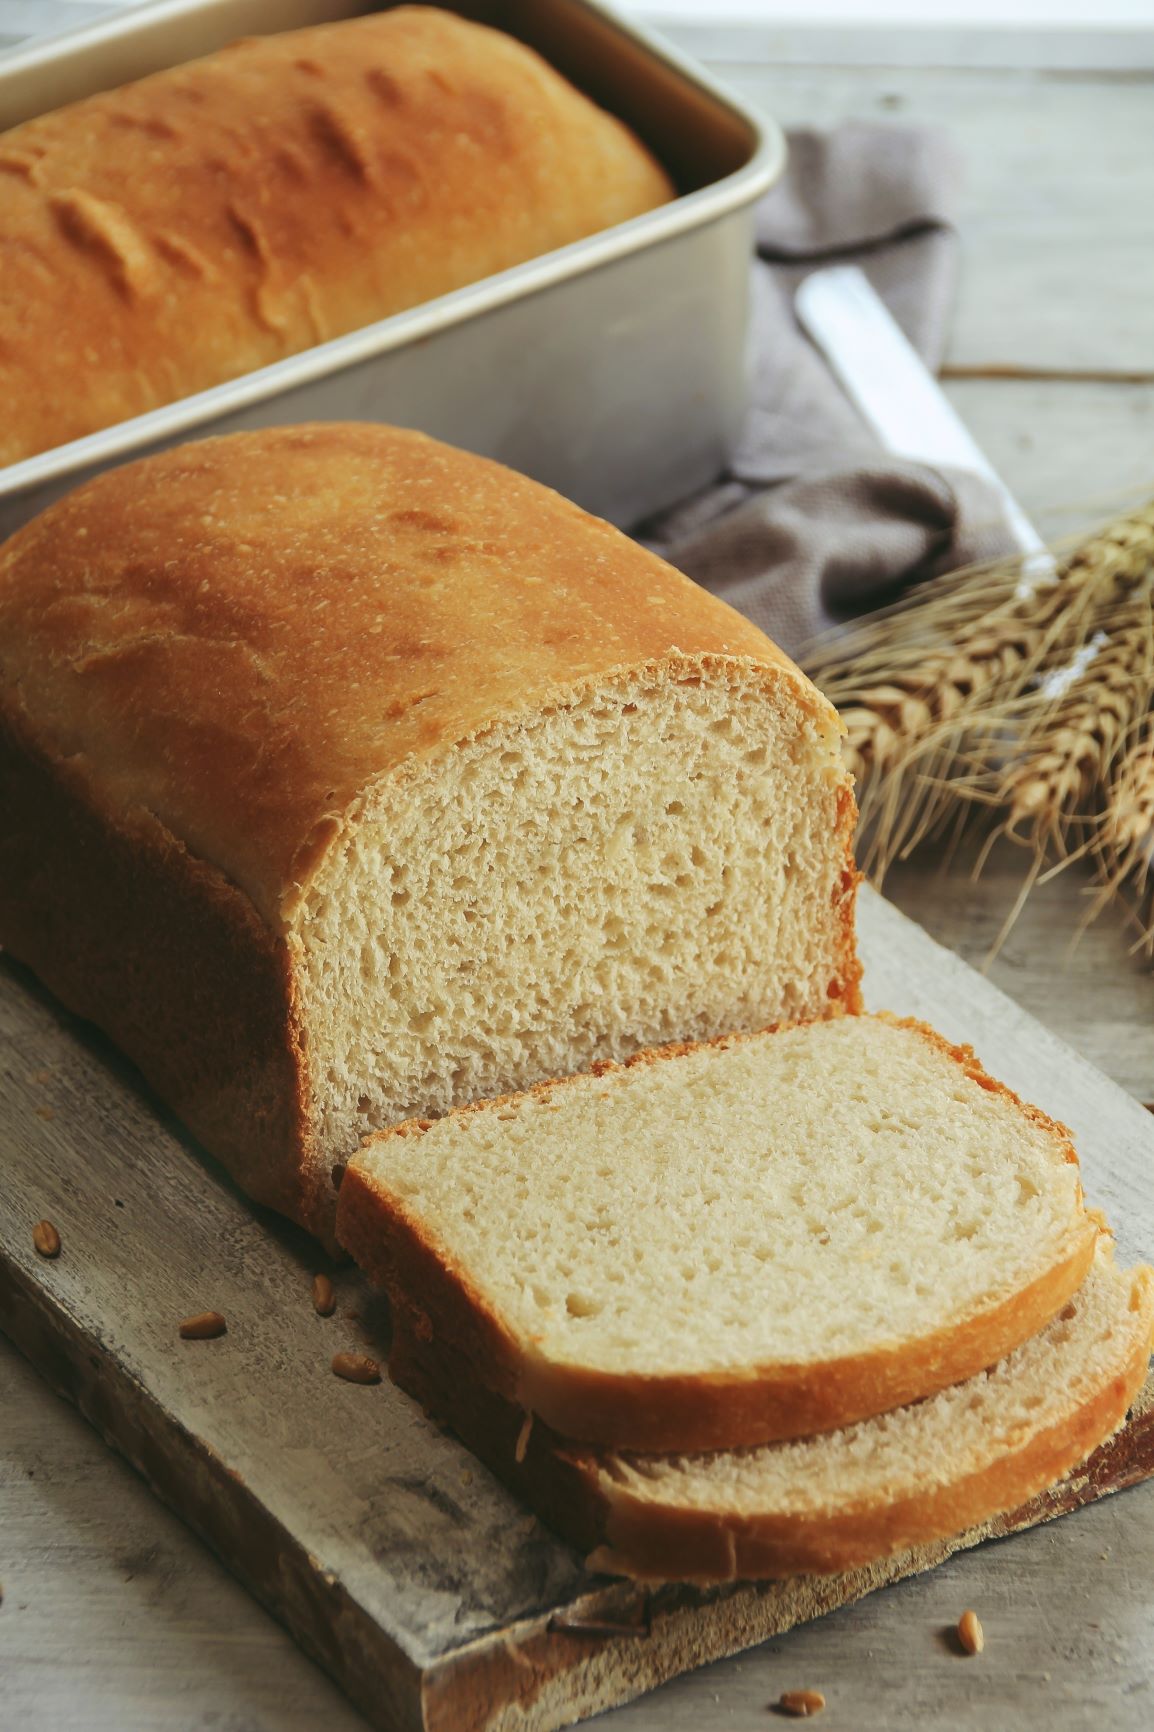
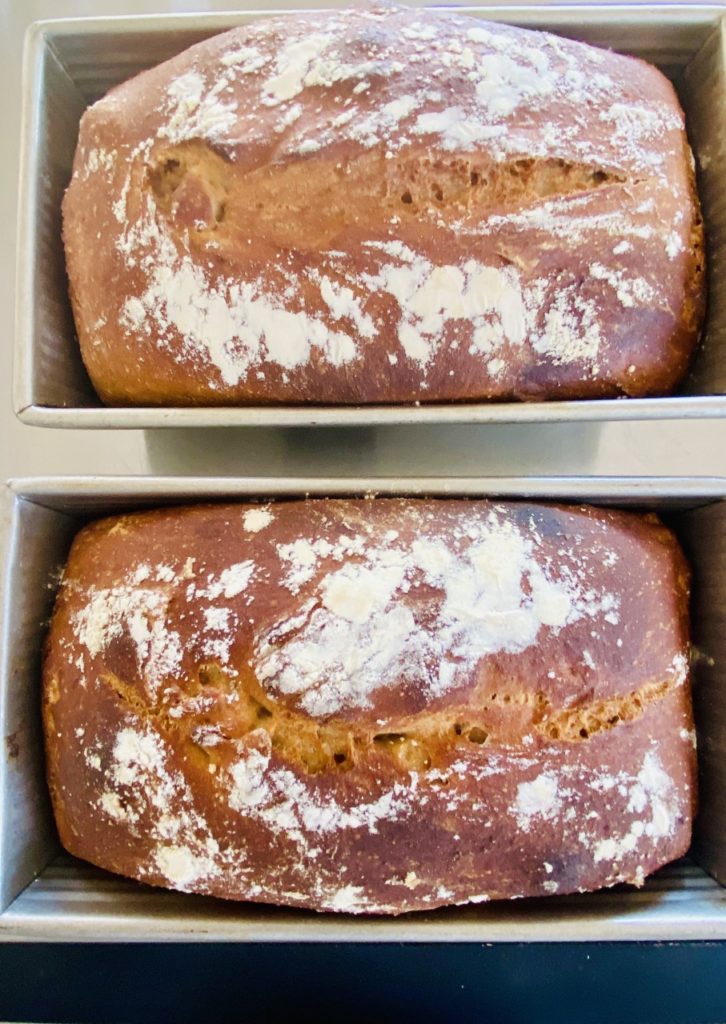
Voila! You now have yourself a GORGEOUS loaf (or two) of sandwich bread & YOU did it yourself! Give yourself a pat on the back. (And, maybe a giant wedge of your warm bread slathered with some olive oil…and wine. Okay, back to the task at hand…)
For other amazing recipes, click HERE to jump back over to the blog. Check out some super delicious supper table recipes that you may find yourself needing more of these days…or maybe a sweet treat recipe because we are all in this together!
Until next time…Eat Well. Travel Often. Love Much.
xoxo
Super Easy No-Knead Sandwich Bread
Ingredients
- 3 cups water 100 degrees or below
- 1 T. active dry yeast
- 1 T. Kosher salt
- 1/4 cup honey
- 1/4 cup vegetable or canola oil
- 1/4 cup Rye flour (if you don't have it, use whole wheat flour)
- 2 3/4 cups whole wheat flour or white whole wheat flour
- 3 cups all-purpose flour
Directions
- Step 1 Mix the water, yeast, salt, honey, neutral oil of choice in a large bowl.
- Step 2 Add in the dry ingredients without kneading, using a wooden spoon to incorporate all bits of flour.
- Step 3 Cover the bowl loosely and allow it to rest at room temperature until the dough rises, about 2 hours.
- Step 4 After this initial rise, the dough can be used immediately, however, I suggest refrigerating it because it’s much easier to handle when it’s cold. Refrigerate the dough and use the mixture over the next 5 days.
- Step 5 Forming Dough Ball – Lightly grease an 8 1/2 inch X 4 1/2 inch nonstick loaf pan (my favorites are suggested above in the post) or a 9 X 5 inch pan (adjust baking times as necessary). Dust the surface of the refrigerated dough with flour and cut off a 1 1/2 pound sized piece. Dust the ball of dough with a little more flour and quickly shape it into a ball by stretching the surface of the dough around to the bottom on all four sides, pinching it very slightly on the bottom. You will now have a smooth ball. Elongate the ball to form an oval loaf and place it into the prepared loaf pan. Cover loosely with plastic wrap or Press N’ Seal and allow to rest for 90 minutes.
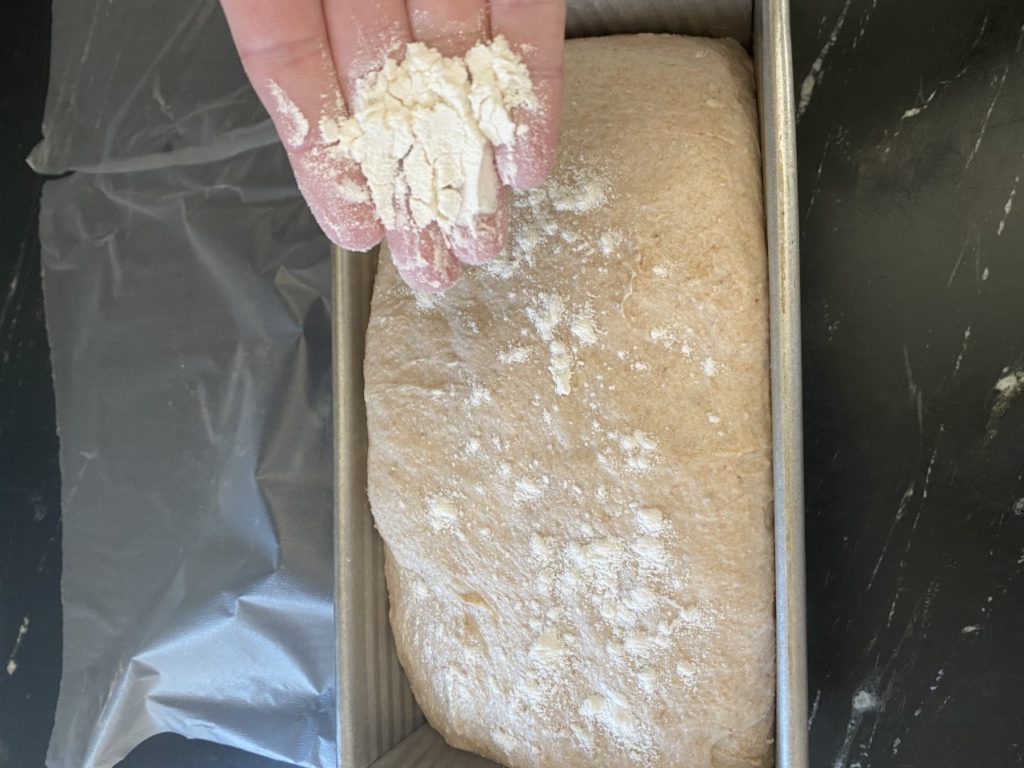
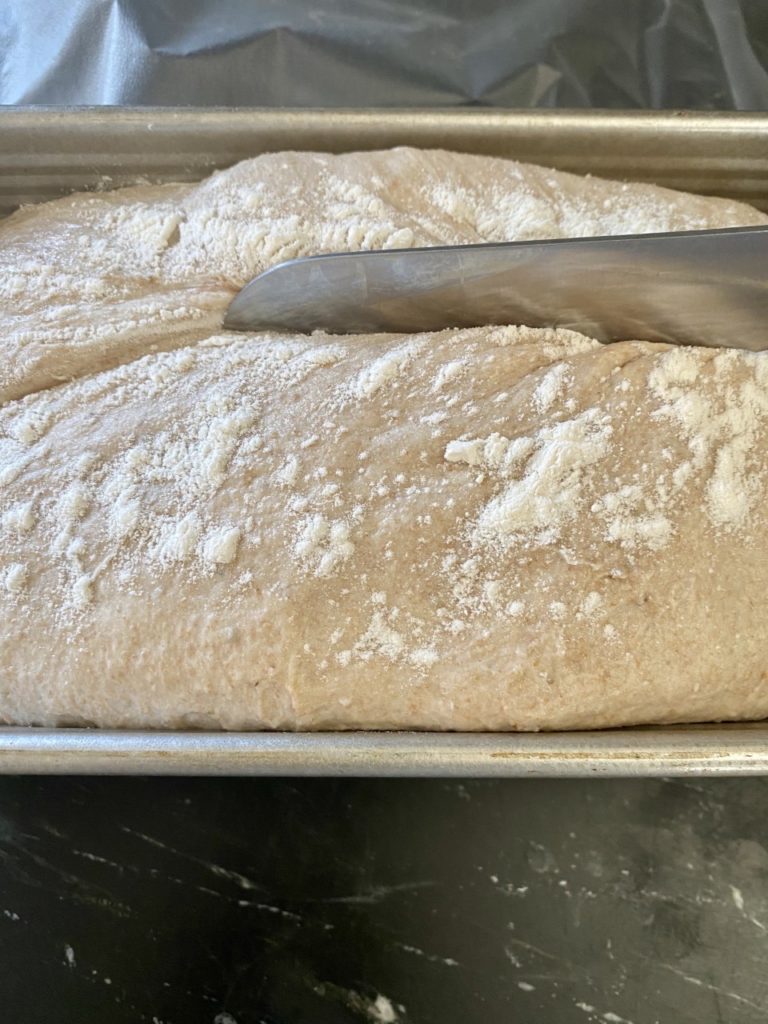
- Step 6 Bake – Preheat the oven to 400 degrees. Place an empty metal broiler tray on the bottom shelf taking care that it will not interfere with the rising bread. If you do not have a metal broiler tray, a heavy-duty metal baking pan is a great substitute. Lightly dust the loaf with flour and using a serrated bread knife, make a slash in the top of the loaf diagonally (this allows the bread to crack naturally, but it is optional). Place the bread loaf pan on a rack in the center of the oven. Pour 1 cup of hot water into the broiler tray (or metal pan) and quickly close the oven door.
- Step 7 Bake for 50-55 minutes until richly browned and firm. If you used a different sized bread pan other than the 8 1/2 inch X 4 1/2 inch recommended, please remember to adjust your baking times accordingly.
- Step 8 Remove from the pan and allow the loaf to cool completely before slicing so you get well-cut sandwich slices!
- Step 9 Enjoy!