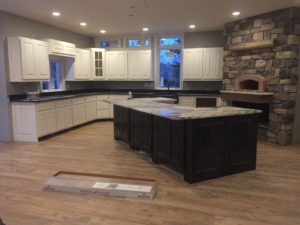
When my husband and I were in the designing stages of our new home, we knew we wanted an incredible kitchen. We wanted to be able to create classic Neopolitan style pizza at home…because we LOVE classic Italian pizza.
Let me back up for a minute to give you some perspective. We had been living in a 1940’s-built 900 square foot cabin for 10 years prior to building our new home. It had a galley kitchen that was 6′ wide by 8′ long and part of that kitchen was also our entry-way. It consisted of 8 cabinets total, a super shallow sink, no dishwasher (and when you cook every meal at home, that adds up to a LOT of dishes) and a 1960’s Kenmore stove. We made it work for us for a very.long.time. And it was awesome…until it wasn’t anymore! And, we outgrew it because of our intense love for cooking & entertaining!
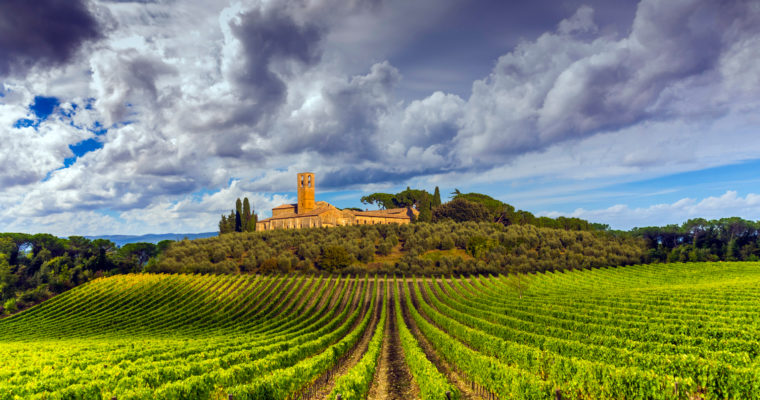
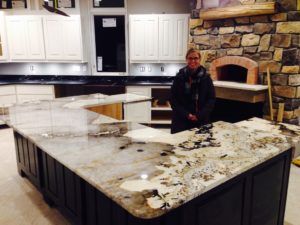
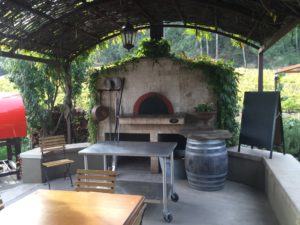
So…when designing this new home, we knew the kitchen was going to be our focus. We love entertaining! Hosting all the big holidays with our family and friends is our jam! And let’s face it, the kitchen is the heart of any home regardless of how amazing the rest of it is! In this new kitchen, we had decided on Sub Zero & Wolf appliances as well as a Miele dishwasher (which I’ve learned I CAN NOT live without). However, we wanted to take it one step further. While on vacation to Italy, we rented a villa with an outdoor wood-fired oven. It was after that vacation we knew our new home was going to have one of these. We wanted to be able to recreate that classic Neopolitan style pizza at home. That experience had changed our cooking-lives forever…
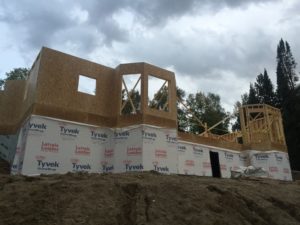
But how were we going to incorporate a wood-fired oven INTO our home, you ask? I know. I know. You hear of wood-fired ovens being placed outdoors in an outdoor kitchen area, but rarely do you see one inside a home. We discovered while drawing up our plans that the reason for this is because wood-fired ovens are insanely heavy, take up an immense amount of square footage and are difficult to make-shift into an already built space.
Luckily, there are a few different ways one can go about putting a wood-fired oven inside your home. There are many DIY options out there on the internet and Pinterest. Many that work extremely well and many that do not. Since we were working with a contractor that only accepted the finest in quality & materials, we were not just going to throw a DIY option together, so we started researching the internet to find out what wood-fired oven companies were out there. That’s when we stumbled across Mugnaini Imports, Co.
Mugnaini is the leading manufacturer of residential, commercial, and mobile-style wood-fired and gas-fired open hearth ovens. They offer masonry kits & pre-assembled ovens as well as several different sizes, so truly the options are endless! In the end, we decided on a Medio 110 size option. This is the largest residential sized oven available. This size has a slightly lighter thermal mass than the commercial sizes. This allows the oven to come up to temperature in about 1 hour. This is important when firing an oven from room temperature in a conventional home. This Mugnaini oven still has a generous internal cavity for cooking many dishes at once. Visit Mugnaini’s website to learn more about all of their exciting wood-fired & gas fired oven options!
After deciding on the size/style of our wood-fired oven, we figured that it wasn’t going to be enough for our builder to place it in our kitchen and for us to just fire away! Nope. There is an actual art and science to properly firing & cooking in a wood-fired oven and we needed to learn how to do this…you know, to prevent terrible tasting food and house fires. And honestly, mostly the latter. And who else should we consult when trying to learn to cook in this bugger? None other than Mugnaini Imports themselves.
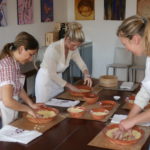
We enrolled in a Hands-On Cooking Class taught by none other than the master of open-hearth cooking, Andrea Mugnaini herself. Andrea is also the owner of Mugnaini Imports Co., at her Healdsburg, California location. Mugnaini offers several styles of cooking classes to meet the needs of anyone interested in wood-fired cooking. These classes range from an Introduction to Wood-Fired Cooking and Demonstration-only style, to Hands-On Cooking and Culinary Getaways near their Tuscany, Italy headquarters. Mugnaini even teaches private classes specifically tailored to meet your every need.
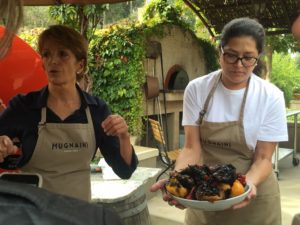
Friends…THIS class. This Hands-On Cooking Class in Healdsburg, California was the most exquisitely enjoyable & impeccably designed culinary experience I’ve ever enjoyed & I’ve taken just a few culinary classes in my day.
From the moment I set my starry eyes upon her Sonoma County villa on the drive up (this was back when she use to teach out of her home just outside the Mugnaini headquarters in Healdsburg, California), to being greeted by her adorable dog and meeting her unbelievably kind husband who bonded instantly with my husband (they are both Dental professionals!), her exceptionally kind staff and the extensive hands-on knowledge we obtained on actually using the wood-fired ovens … the whole experience was extraordinary.

And the food…Oh my heavenly stars, the food. (I want to insert all the heart-eyes emojis right here). We created so much more than just wood-fired pizza (which of course, would’ve been just fine in my opinion). We prepped and created everything from appetizers to desserts! This included: smoked mozzarella with peppers, butter-garlic prawns, brick chicken, wood-fired pizzas, stone-fruit galettes and so much more!

Naturally, we have come to enjoy our Mugnaini wood-fired oven to the ends of the Earth! We would love for all of our friends and family to have the opportunity to enjoy one of these Mugnaini ovens in their homes! But…we know this is not always an option. If you are interested in wood-fired open-hearth cooking, look no further than Mugnaini Imports http://www.mugnaini.com
After the installation and continual use of my wood-fired oven, I was facing a conundrum of sorts. Back when I was teaching cooking classes locally in northern Minnesota, my students would ask ‘How do we create a pizza similar in texture to a wood-fired pizza without an actual wood-fired oven?’ Well…that was a really great question. This was going to be really tough because open-hearth cooking consists of so many different factors: moisture from the wood, the type of wood you use imparts different flavor qualities, the clay floor & ceiling of the oven, blazing hot temperatures that cook a pizza in 90 seconds flat…I had my work cut out for me.
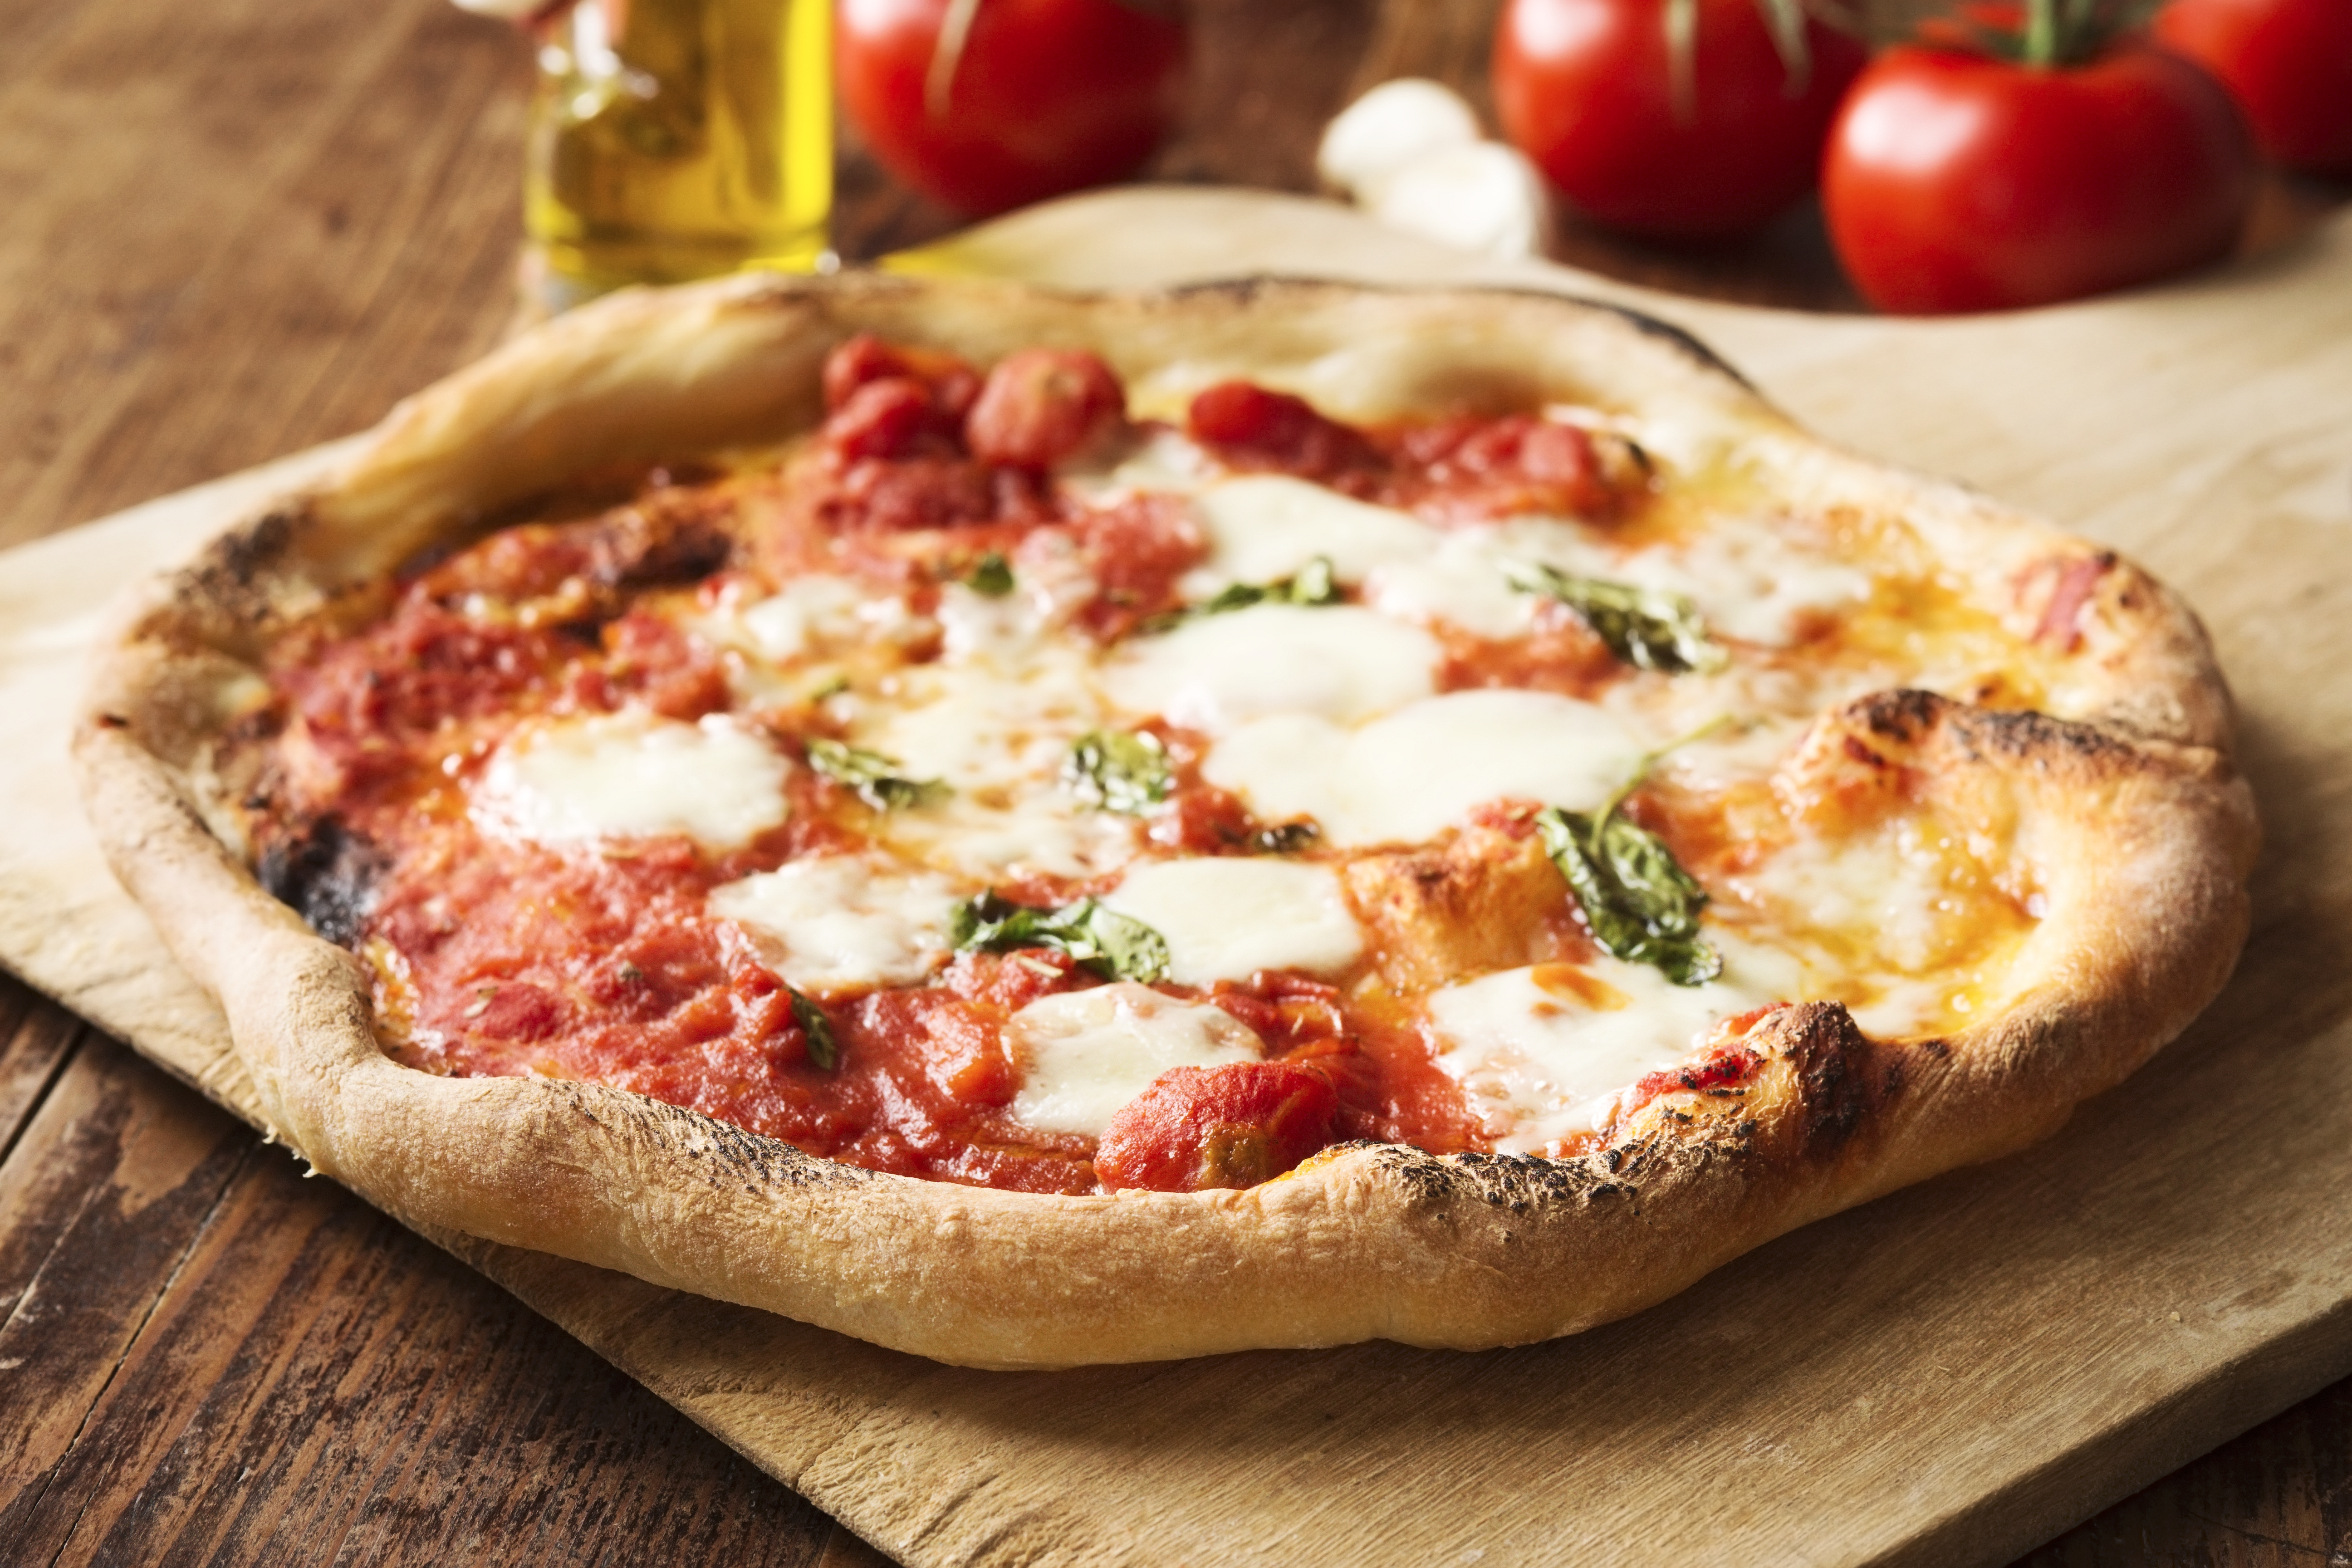
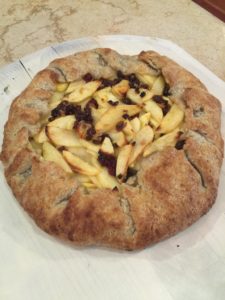
So, for about 2 months we cooked pizza, relentlessly, in our wood-fired oven and cooked pizza in my Wolf range using my favorite pizza stones from Emile Henry (link to check them out is below the recipe) to try and come up with a solution for those who don’t have access to a wood-fired oven. After many pizza flops (read: a ridiculous amount of soggy crusts, no brown crusty bubbles, non-melted cheese…you name it, it happened), I FINALLY came up with a way to create a delicious, crispy, thin-crusted Neopolitan style pizza with brown crusty bubbles in a conventional home oven. It does require some tools such as a pizza peel, pizza stone, large flipper and good ‘OO’ flour and one can find those at any good kitchen store or specialty grocer.
Follow my recipe and directions below very closely and you will enjoy a Neopolitan style pizza in no time! While it’s not exactly the same, (because let’s face it, it just can’t be exactly the same) it’s an oven-ready version that comes in a close 2nd.
And, once you’re finished trying out my recipe for classic Neopolitan style pizza at home, try out my recipe for Rustic Polenta Casserole. It’s another #win for the dinner table!
Classic Neopolitan Style Pizza (In Your Oven)
Creating a wood-fired oven pizza using your own home oven? This is as close as it gets~Enjoy!
Ingredients
- 1 1/2 cups warm water, divided
- 1 tsp. active dry yeast
- 4 cups 'OO' flour
- 1 tsp. kosher salt
- 1 T. diastatic malt powder (*this is the key! this ingredient helps to create those brown bubbles similar to wood-fired pizza)
- 1 tsp. extra virgin olive oil
Directions
- Step 1 Place 1/4 cup of warm water in a small bowl and sprinkle with the yeast. Let the mixture sit for 5 minutes or until yeast is hydrated and creamy.
- Step 2 Place flour, salt, diastatic malt powder, yeast mixture and remaining water in a mixer bowl fitted with a dough hook. Mix on low for 2 minutes to combine. If the dough appears too wet and sticky, add flour 1 T. at a time while mixing until the dough takes on a ‘shaggy’ appearance. Drizzle the mixture with the oil and mix for 2 more minutes. Dough should now form a smooth ball and clear the sides of the bowl. Turn the mixer off, cover the top of the bowl with plastic wrap and let it rest for 20 minutes. Resume mixing on medium-low speed for 3 minutes, or until the dough forms a smooth ball and clears the sides of the bowl. Place the dough ball in a lightly oiled bowl and cover with plastic wrap. Let it sit at room temperature for 2 1/2 hours or until the dough ball has doubled in size.
- Step 3 After the 2 1/2 hours has passed, makes sure it’s puffy and doubled in size. Punch down the dough and grab the dough out of the bowl into 1 large ball. Divide the dough into appropriate portions for the size pizzas you desire. Using a kitchen shears, cut the large ball into the portions and shape the dough into round balls by pulling the top and tucking under until it’s very smooth on top. Let rest for 20-30 minutes to allow the gluten complex to relax which will make the dough easier to open.
- Step 4 Turn your oven on to 450 F degrees and place your pizza stones inside the oven during the heating process. Heat for 1 hour.
- Step 5 Opening the dough: When you’re ready, with relaxed dough, place your dough ball on the floured portion of your pizza peel. Turn the dough over so both sides are floured and flatten the dough ball into a round disc. Next pick up the dough with both hands. Place your fingers under the dough, and your thumbs on top just inside the the outside edge. With your thumbs at 12:00 position, grip the dough and pull your hands apart several inches to the 10:00 and 2:00 positions. Pull with conviction, but don’t yank it. Shift your dough to the right and continue to pull the same way you just did until your dough has a nice shape. Any holes can be patched by folding the dough over to build up the thickness. Before topping the pizza, make sure there is ample flour underneath it. This will allow it to slide easily onto the pizza stone. Fresh dough can stick to the peel, so shake the peel to verify the dough is sliding before topping.
- Step 6 Turn your broiler on for 5 minutes while you’re topping your pizza. Top your pizza very lightly with your favorite sauce and ingredients.
- Step 7 Gently slide the topped pizza ready for baking onto the stone in the oven. Shut the oven door and broil for 1-1.5 minutes. Watch through the oven door the first few times you do this to make sure it doesn’t burn but you get those nice, crusty dark patches on your dough, similar to that of a wood-fired oven approach. Turn the pizza stone 180 degrees and close the oven door. Bake for another 1.5 minutes.
- Step 8 Transfer the stone to the middle or bottom rack for another 30 seconds to complete the cooking.
- Step 9 Transfer the pizza to a cutting board, garnish if desired and to let it rest for 1-2 minutes before cutting it.
- Step 10 Enjoy!